I saw a super idea for the boy’s birthday that combined two of his passions. Aeronautics and Lego.
Flybrix promised a relatively low cost entry to mini-drone design and flight – with some interesting possibilities around the Arduino platform. Automation!
I placed the order pretty early – and eventually the kit arrived.
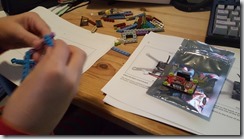
Unboxing was fun. An anti-static bag with a mini control board, a bag of lego bits, a bag of motors and a bag of props.
We built the first Lego drone using the online instructions. Meh. No fun. Having the battery above the plane of the props meant this turned into an inverted pendulum – with inherent instability for the drone. We had many crashes and a particularly disappointed boy.
Lots of video showing a five second flight and then a massive crash.
Also we found that the Lego design was not particularly strong. Every flight, every crash – and rebuilt.
Back to the drawing board – with two goals.
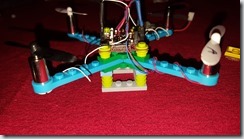
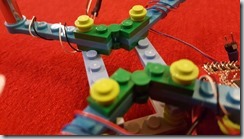
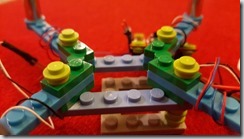
- stronger Lego model – less rebuilding
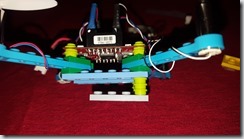
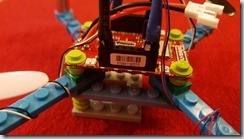
- place the battery under the plane of the props to give more stability.
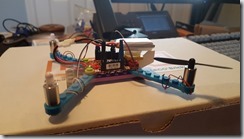
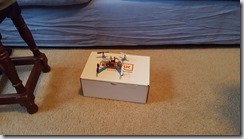
After several tries – here’s what we ended up with. It flies, it hovers, it’s actually fun.
The boy is now learning to hover an inch off the ground like a hovercraft and maneuver in three dimensions.
Hi, thanks for this post!
Can you show pictures of how you put the battery?
Thanks in advance
do you have a picture of how you placed the battery in the bottom of the drone. Thanks for sharing.
Here’s my sturdy build: https://studio.bricklink.com/v2/build/model.page?idModel=6599
View the “Step Build” to see how to build it. Going to make a few others as well!